
Last updated November 17, 2026








Free written scope consultation - allowances, timeline, and change-order rules on paper before a single trade is scheduled
Bathroom Remodeling Maintenance Schedule: What to Do and When
Your new bathroom looks flawless on handover day. Eighteen months later, the grout around the shower floor has gone chalky, the glass enclosure fogs after every use, and a thin dark line has appeared where the wall meets the tub. None of that is a bad remodel. It’s Long Beach water and Long Beach air doing what they always do to unprotected surfaces. Long Beach tap water consistently tests among the harder municipal supplies in Southern California, with calcium carbonate deposits that etch unsealed grout and fog glass enclosures within 18 months if no maintenance protocol is in place. Add salt air moving in off the coast and humidity that swings between dry Santa Ana days and damp marine mornings, and a bathroom here ages faster than the national maintenance calendars assume. This guide gives you the actual schedule: what to do in month one, month six, year one, and every year after, so the bathroom you paid for still functions like new well past the five-year mark.
Quick Answer
A remodeled bathroom in Long Beach needs four recurring tasks: re-caulk wet joints every 12 to 18 months, seal grout annually (twice a year on shower floors), descale glass and fixtures every two to four weeks depending on water hardness, and test your exhaust fan’s airflow once a year. Everything else – inspecting the shower pan, checking supply lines, photographing for warranty records – fits into a simple annual walkthrough you can do in under an hour.
Styles & brands we work with
- Kitchen remodeling
- Bathroom remodeling
- Home additions & ADU
- Roofing
- Windows & doors
- Driveway & pavers
- Fence
Table of Contents
- The First-Year Maintenance Calendar, Month by Month
- Re-Caulking and Re-Sealing: How Often in a Coastal Climate
- Hard Water: Squeegee Habits, Descale Schedules, and When to Call a Plumber
- Shower Pan and Waterproofing: What to Inspect and When
- The Annual Ventilation Check: Is Your Fan Actually Moving Enough Air?
- What to Photograph Each Year to Support a Warranty or Insurance Claim
- Fixtures, Cabinetry, and Finish Care by Material
- Common Mistakes to Avoid
The First-Year Maintenance Calendar, Month by Month
The first year after a remodel is when problems announce themselves quietly. A bead of caulk that pulls away at month four, a grout line that darkens at month six – these show up long before a warranty expires, which is exactly why you want to catch them early. Our technicians have up to 22 years of experience, and the pattern we see in Long Beach homes is consistent: the failures that get expensive are the ones nobody looked at during year one.
Here’s the calendar we recommend for the first twelve months after a bathroom remodel:
- Month 1: Do a visual walkthrough of every caulk joint and grout line. New caulk shrinks slightly as it cures; note any gaps now so you’re comparing against a baseline, not guessing later.
- Month 2: Start your squeegee habit. Every shower, every time. This is the single highest-return maintenance task in a hard-water city.
- Month 3: First descale of the glass enclosure and showerhead. Check the fan for dust buildup on the grille.
- Month 6: Inspect the shower floor grout under raking light. Feel for soft spots at the drain collar. Re-seal if water beads have stopped forming.
- Month 9: Look at the caulk line where the tub or shower base meets the wall. This is the joint most likely to fail first in Long Beach because of humidity cycling.
- Month 12: Full annual walkthrough – fan airflow test, supply line check, photograph everything, and re-seal grout if you haven’t already.
If you’re still in the planning phase and want the remodel itself built to hold up in this climate, our Bathroom Remodeling in Long Beach page covers material choices – cement board substrate, epoxy grout options, and finishes that tolerate marine humidity – before a single tile is set.
Re-Caulking and Re-Sealing: How Often in a Coastal Climate
National guides tell you to re-caulk every three to five years. In Long Beach, plan on every 12 to 18 months for wet-area joints, and every 6 to 12 months for grout sealing on a shower floor. That’s not a sales tactic; it’s the difference between a sealed envelope and one that’s been steamed open. Salt air carries moisture and trace minerals that work at flexible sealant, and the constant wet-dry cycle in a shower breaks the bond faster than in a drier inland climate.
Here’s how to tell the difference between maintenance and a real problem:
- Re-caulk: the bead is intact but pulling away at one edge, or it has gone dull and chalky to the touch. This is routine wear.
- Re-seal grout: water no longer beads on the surface and the grout darkens when wet. Seal annually, or twice yearly on shower floors.
- Stop and call someone: caulk pulls away and the substrate behind it feels soft, or grout crumbles when you touch it. That points to moisture behind the tile, not on it.
Use a silicone caulk rated for wet areas – not painter’s caulk, and not the cheap acrylic tube from the hardware store. The flexible silicone that a professional-grade job uses is the same standard we hold ourselves to on every bathroom we build: written price before work starts, and if our caulk line fails inside the guarantee period, we come back at no charge. That’s the 365-Day Done Right Promise, and it applies to the details, not just the big-ticket items.
Hard Water: Squeegee Habits, Descale Schedules, and When to Call a Plumber
Long Beach water is hard, and hard water is a maintenance task disguised as a cleaning problem. Calcium carbonate leaves deposits that etch unsealed grout, fog glass, and crust over showerheads and faucet aerators. You can handle most of it yourself with the right schedule. Here’s the routine that works:
- Every shower: squeegee the glass and wipe the fixtures dry. Thirty seconds. It prevents most of the buildup you’d otherwise scrub off later.
- Every two weeks: descale glass and fixtures with a mild acid cleaner (white vinegar and water works). Let it sit, don’t scrub hard.
- Every one to two months on showerheads: unscrew the head, soak it in vinegar, clear the screen. Aerators on faucets get the same treatment.
- Every three months: check the toilet fill valve and tank for mineral crust. Wipe the flapper seat clean.
Grohe and Moen fixtures hold up well to hard water because of their ceramic cartridges, but no cartridge survives calcium crust. The cleaning schedule is what protects the warranty on the fixture itself. When to call a plumber instead of reaching for a consumer product: if a showerhead or faucet has lost flow even after descaling, if the toilet runs intermittently, or if you see mineral staining that recurs within days of cleaning – those point to a supply issue, not a surface one.
Shower Pan and Waterproofing: What to Inspect and When
The shower pan is the part of your bathroom you can’t see, and it’s the part that fails most expensively. A pan that’s leaking slowly shows almost nothing on the surface. What it does show, over months, is a soft spot in the floor tile, a loosening drain collar, or a stain on the ceiling of the room below. Inspect it once a year, and do it thoroughly.
- Check the drain collar: press on the tile around the drain. Movement or a slight give means the bond has broken and water is getting underneath.
- Look for efflorescence: that white, powdery stain on grout lines means moisture is moving through the tile assembly and drying on the surface. Early sign of a pan problem.
- Run a water test: plug the drain, fill the shower base with an inch of water, and let it sit for an hour. Then check the ceiling below. Any new dampness means the waterproofing layer has failed.
- Feel the curb: press along the shower curb and the wall joints. Softness or flexing at these points is the most common location for a slow leak.
If you catch any of these early, a repair is manageable. If you ignore them for a year, water reaches the framing and the fix moves from caulk-and-tile to framing and substrate. That’s the scenario the annual walkthrough exists to prevent.
The Annual Ventilation Check: Is Your Fan Actually Moving Enough Air?
An exhaust fan that runs is not the same as a fan that works. In a Long Beach bathroom, a fan that moves too few cubic feet per minute (CFM – the measure of how much air it pulls per minute) leaves humidity in the room after showers, and that humidity is what feeds mold in the corners and behind the vanity. Test it once a year, both ways:
- The tissue test: hold a single square of toilet paper up to the fan grille with the fan running. If it holds, the fan is pulling air. If it flutters or falls, it isn’t moving enough.
- The mirror test: run the shower for five minutes with the fan on. If the mirror fogs and stays fogged for more than a few minutes, the fan is undersized or clogged.
- The grille check: pull the grille off and clean it. A dust-clogged grille can cut airflow by half. This is the single most common reason a fan “stops working” without the motor failing.
If the fan passes the tissue test but the room still stays damp, the issue is likely CFM sizing relative to the room, not the fan itself. A bathroom under 100 square feet typically needs a fan rated for at least 50 CFM; larger bathrooms need more. If your fan is undersized, replacing it is a modest job that pays off in mold prevention long-term. If your bathroom is due for a larger refresh, our General Contractor in Long Beach team can advise on the right ventilation setup for the room size and your home’s layout.
What to Photograph Each Year to Support a Warranty or Insurance Claim
Most homeowners never think about documentation until they need it, and by then the evidence is gone. A simple annual photo set takes ten minutes and can be the difference between a warranty claim being approved and being argued about. Here’s what to capture every year:
- Wide shots of each wall – dated, with the date visible in the photo or noted in your phone’s caption.
- Close-ups of every caulk joint – the tub surround, the shower base, the vanity backsplash.
- The shower floor and drain collar – clean and dry, straight down.
- The ceiling below the bathroom – especially if your bathroom is upstairs. Stains show here first.
- The exhaust fan grille – before and after cleaning, so you have a record.
- Fixture labels and model numbers – a photo of the tag under the sink or behind the toilet tank.
Store the photos in a folder on your phone with the year in the name. If you ever need a warranty repair, the photo history is what a responsible contractor will want to see. It also does something else: it turns vague worry into a clear before-and-after record, which is the honest way to know whether a small issue is genuinely small.
If you’re remodeling your kitchen at the same time and want the same level of documentation on both projects, our Kitchen Remodeling in Long Beach guide covers the maintenance calendar for cabinetry, countertops, and tile.
Fixtures, Cabinetry, and Finish Care by Material
Different materials in the same bathroom need different care, and using one cleaner for everything is how finishes get ruined. Here’s the material-by-material short version:
- Quartz and natural stone counters (Cambria, Caesarstone, Silestone): damp cloth, mild dish soap. Skip acidic cleaners on stone. Quartz is non-porous and doesn’t need sealing; natural stone does, about once a year.
- Framed vanity cabinetry: wipe down monthly with a damp cloth; keep the vanity doors open for an hour after a hot shower to let the interior breathe. Moisture trapped inside a closed cabinet is the main cause of wood swelling at the base.
- Porcelain and ceramic tile: pH-neutral cleaner for daily care. Save the acid descaler for the glass and metal only; acid on colored grout can lighten it over time.
- Glass shower enclosures: a squeegee after every use, plus a liquid glass treatment every three months. Skip the abrasive pads, which scratch the coating.
- Kohler and Moen finishes: oil-rubbed bronze and brushed nickel should be wiped dry after exposure to hard water, which leaves spots that etch if left for weeks.
The common thread is not a special product. It’s timing. Clean it before the mineral dries, dry it after the shower, and the finish outlasts the calendar.
Common Mistakes to Avoid
- Waiting for a leak to justify a repair. By the time you can see the water, the cause has been working for months. The annual walkthrough exists to catch it earlier.
- Caulking over old caulk. The new bead adheres to the old one, but the old one is already failing at the substrate. Strip the old bead completely and clean the joint first.
- Using painter’s caulk in the shower. It’s not rated for continuous moisture, and in Long Beach’s humidity it fails in a season. Silicone only in wet areas.
- Ignoring the exhaust fan because it’s still running. A dust-clogged grille can cut airflow by half. Clean it yearly; test it yearly.
- Skipping the photos because “nothing’s wrong yet.” The photos are most valuable the day before something goes wrong, not the day after.
- Using an acid cleaner on all surfaces. Fine for glass and metal, hard on grout and stone. Match the cleaner to the surface.
- Assuming the cost of a small fix will be small if you wait. A caulk joint is $15 and twenty minutes. A shower pan repair is a tile-and-framing job. The math is never in your favor when you wait.
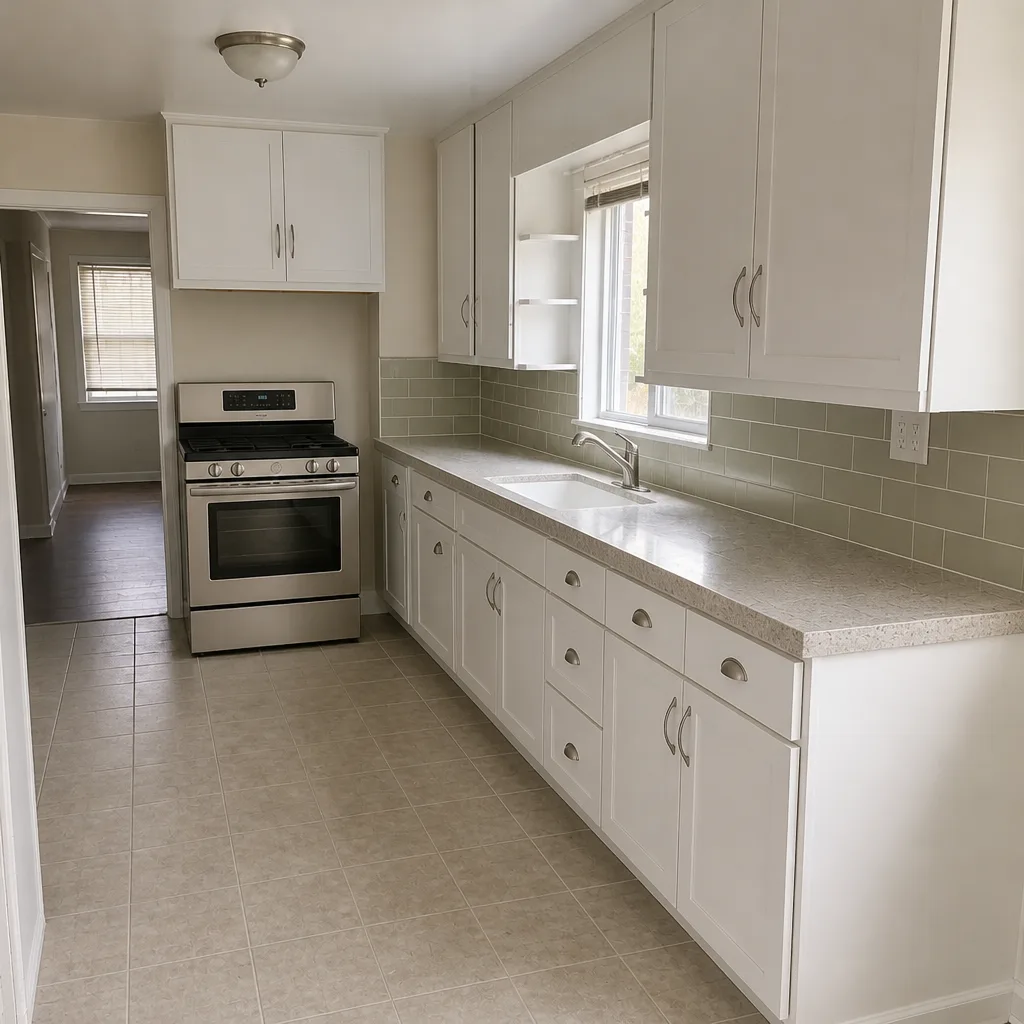
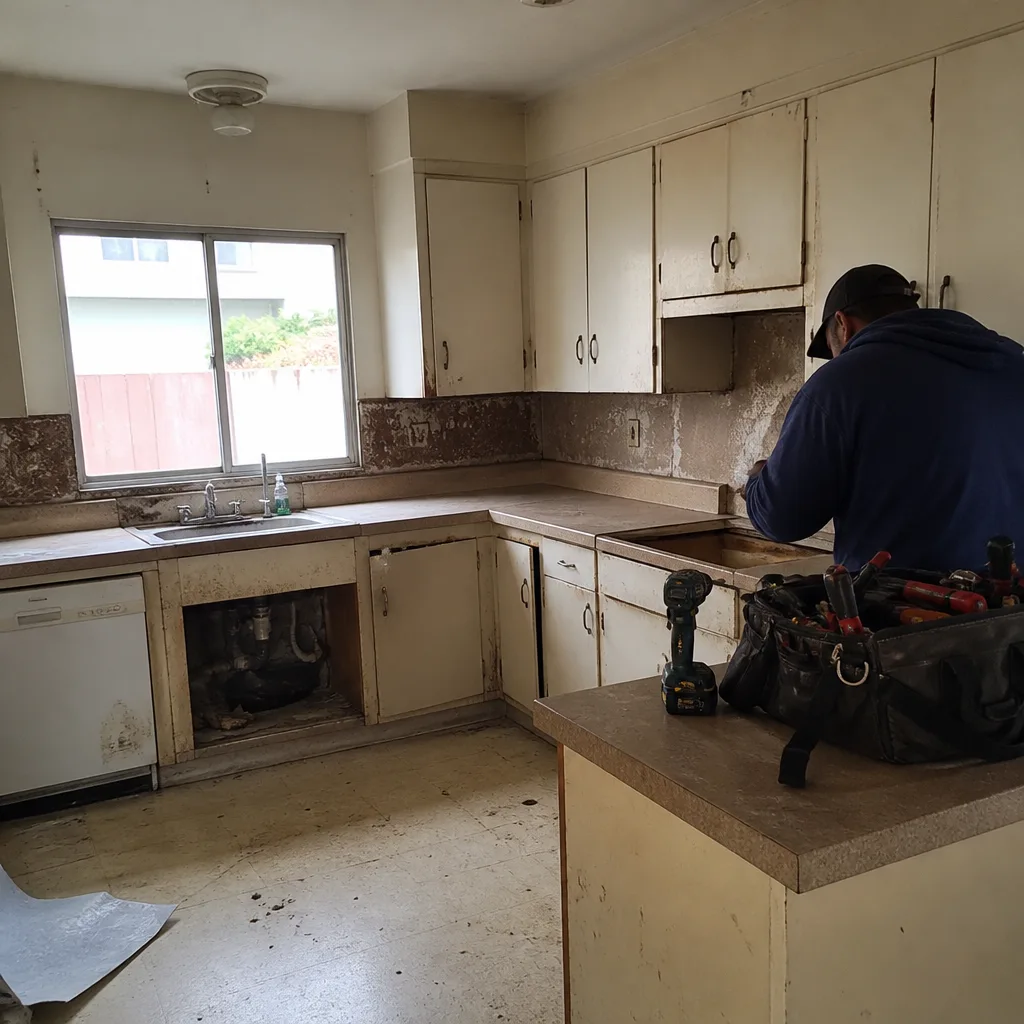
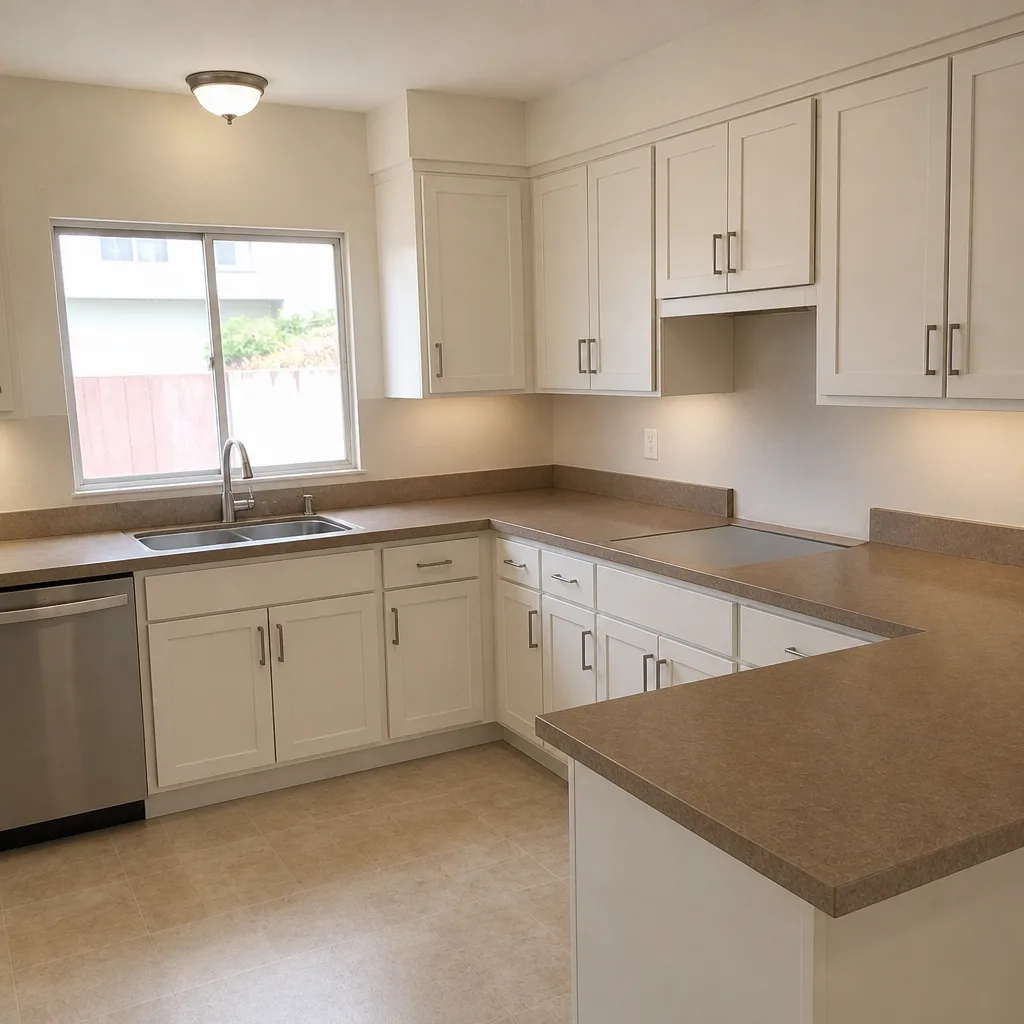
See the difference
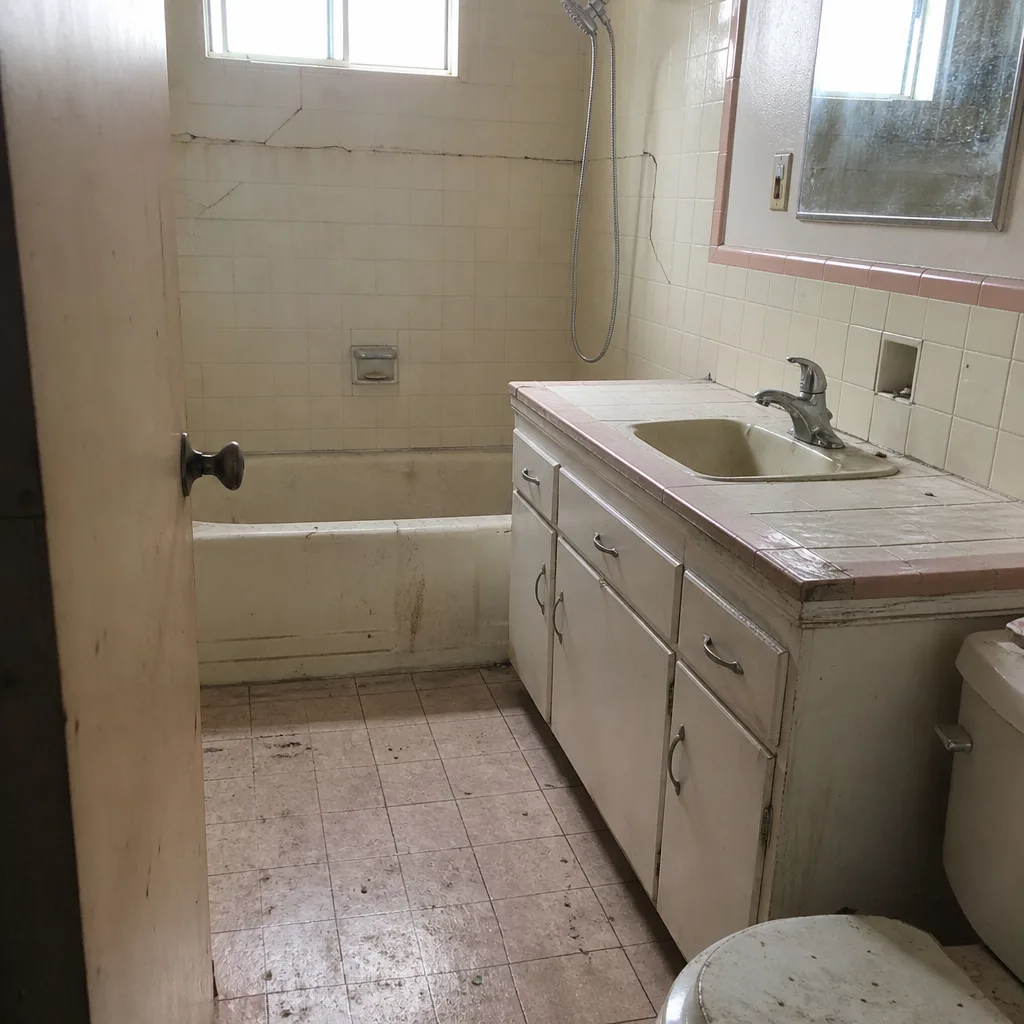 Before
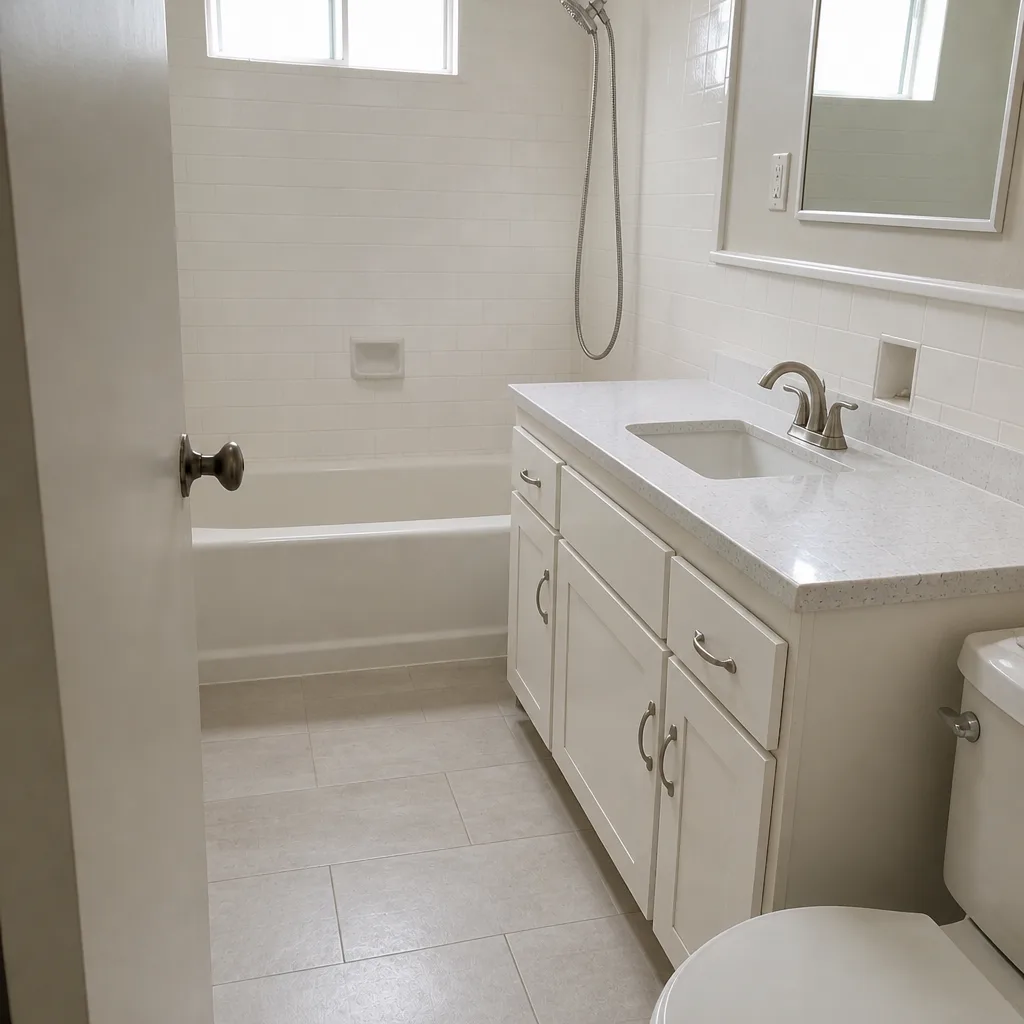 After
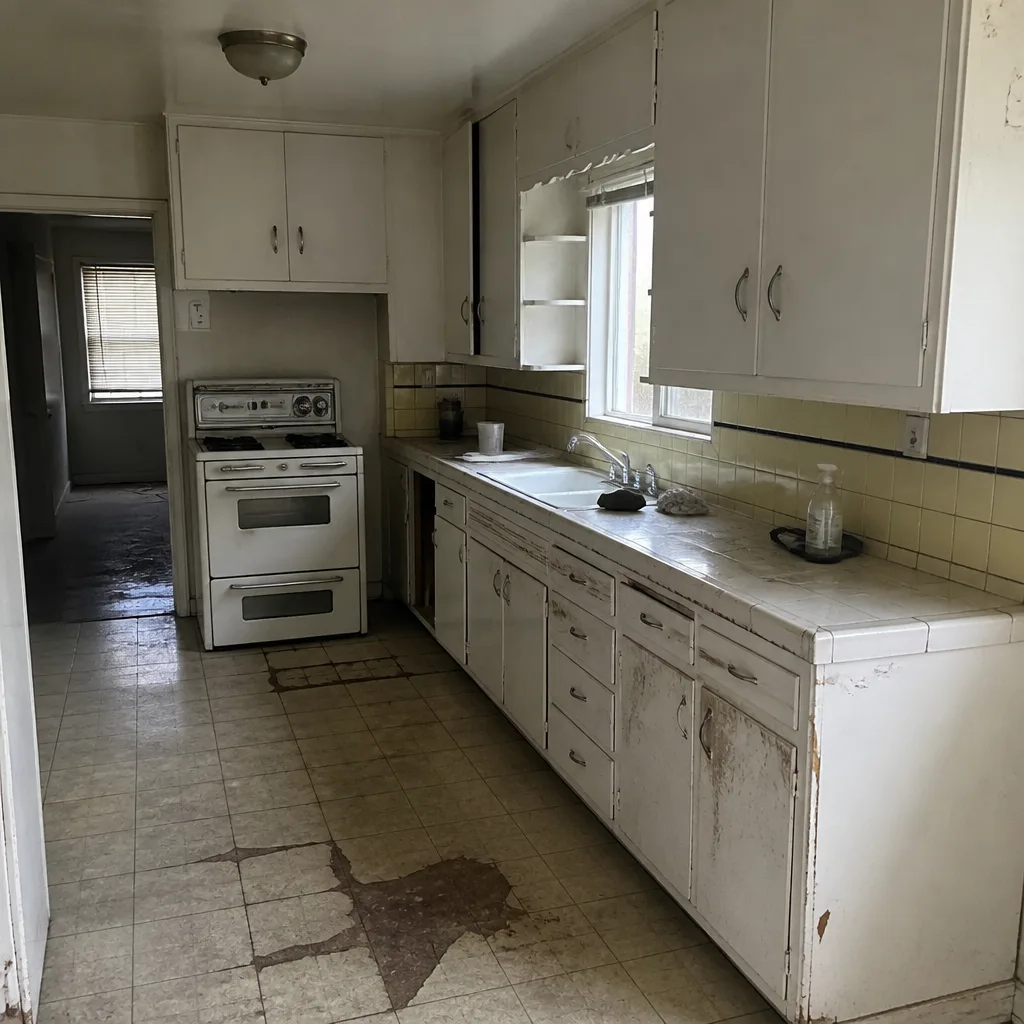 Before
 After
 Before
 After
When to Call a Professional
The maintenance schedule handles most of what a bathroom needs. Some problems should not be handled with a tube of silicone. Call a professional if you see any of these: a shower pan that flexes underfoot or shows water staining on the ceiling below; grout that crumbles or feels soft rather than just discolored; a supply line or shutoff valve that’s corroded, stiff, or weeping; a fan that runs but leaves the room damp after showers; or any caulk joint where the substrate behind it has gone soft. Those are signs the problem is behind the finish, and fixing that properly is a job for someone who knows what’s under the tile. Penhallow Remodeling Long Beach offers free estimates in Long Beach – call (833) 510-6967 to schedule a walkthrough. Every visit gets a written price before any work starts, and our work is backed by the 365-Day Done Right Promise.
Frequently Asked Questions
Every 12 to 18 months for wet-area joints in a Long Beach bathroom, compared to every three to five years in drier inland climates. Salt air and humidity cycling break the bond at the edges faster here. If the bead is pulling away or chalky, that’s the signal. Call (833) 510-6967 for a free estimate if you’d rather have a professional handle the joints.
Yes, and in Long Beach, twice a year on the shower floor. Sealer keeps water from soaking into the grout, which is the path to mold and eventually to a soft substrate under the tile. Test by splashing a little water on the floor; if it beads, the seal is holding, and if it soaks in, it’s time to re-seal.
Three signs: flex or softness underfoot around the drain or the curb, a powdery white stain (efflorescence) on the grout lines, or a water stain on the ceiling below the bathroom. Any one of these warrants a professional inspection. Don’t wait for visible water damage – by then the fix is a tile-and-framing job. Call (833) 510-6967 for a free estimate.
Every two to four weeks with a mild vinegar-and-water solution, and more often if you notice spotting within days of cleaning. The squeegee habit after every shower is what prevents most of the buildup between descales. Hard water etching on glass is permanent, so the goal is to never let the minerals sit.
Most likely the exhaust fan is undersized for the room or the grille is dust-clogged. Clean the grille first, then test with a tissue – if it doesn’t hold, the fan isn’t moving enough air. A bathroom under 100 square feet typically needs at least 50 CFM. If the fan is fine but the room stays damp, a professional can assess the sizing and the ducting behind it.
Photograph everything immediately – wide shots, close-ups, and the area below – then call the contractor who did the work. A responsible company will want to see the documentation and inspect the source, not just the stain. If your bathroom was built with a written guarantee, the photo history is what supports the claim. Reach Penhallow Remodeling Long Beach at (833) 510-6967 to schedule an inspection; estimates are free.
Whether you’re mapping out a maintenance schedule for a bathroom you already have or planning a remodel that will hold up in this climate for the long haul, start at our Penhallow Remodeling Long Beach home page and work from there. We answer the phone 24/7, and every project starts with a written price, a real arrival window, and a guarantee that’s in writing before anyone picks up a tool.
The Bottom Line
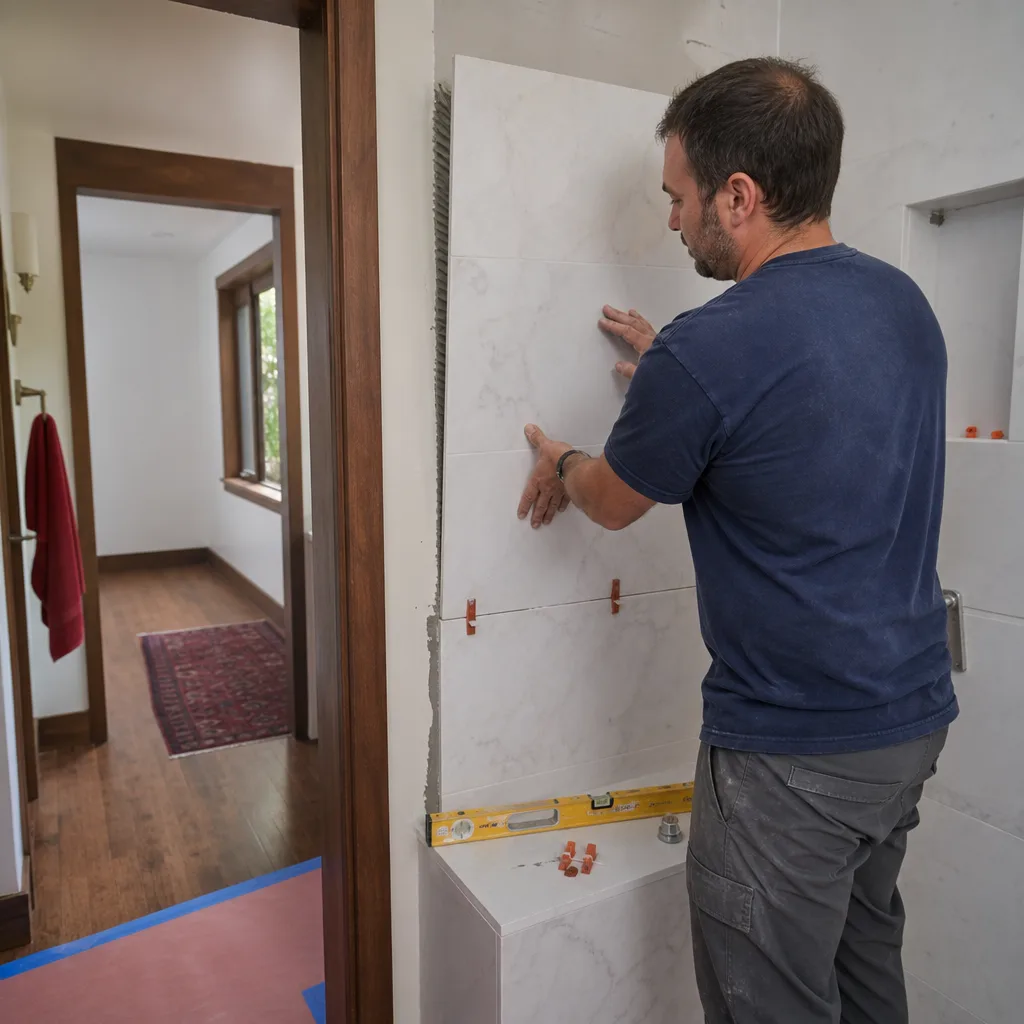
A remodeled bathroom in Long Beach needs more attention than the national maintenance guides prescribe, but not a lot more – and the tasks are simple. Squeegee after every shower. Re-caulk wet joints every 12 to 18 months. Re-seal grout annually, twice a year on the shower floor. Test your exhaust fan once a year. Photograph everything, once a year, and keep the photos. The first-year calendar is where you’ll find most of the savings, because a failing caulk joint is a fifteen-dollar fix and a failing shower pan is a construction project. Keep the schedule, and your bathroom still functions like new well past year five.
If something on this list turns up a problem you’d rather not handle alone, or if you’re ready to plan a repair or a remodel done right, the first step is a free estimate with a written price. Call Penhallow Remodeling Long Beach at (833) 510-6967, and we’ll schedule a visit in a window that works for you.
Written by the team at Penhallow Remodeling Long Beach.